Saturday, March 7, 2015

Double Cape

I made this double cape for my son after my sister made one for his brother. Choose the character you want to do and pick out the fabric. Then cut out the front and back pieces the same size. I used black bias tape for the neck, and black fabric for the strap with velcro. Just make sure when sewing it togther that you don't sew the circle until you've turned it right side out. then sew on the neck and strap. I then cut out the symbols from felt, using pictures I found online to make an outline.  

This is Super Why
and Robin (from Batman).

Chore Charts

I've been wanting a chore chart for my kids and this is the best I could find from the many pinterest posts. I used cookie sheets from the dollar store, printed out pictures of the chores they do, round wood circles from a craft store, and square magnets from Walmart. I think it cost $10, but only because I wanted the best wood pieces. Everything else was pretty cheap.

I just glued the pictures to the wood pieces, and used tape and stickers to write the names and lines. My boys love them. I recommend punching holes in the top of the pans and stringing ribbons through them to hang them on the all.

Friday, January 16, 2015

Thomas the Train Tree Skirt

 I got this pattern from Porters. It turned out cute but I decided I really hate sewing circles. At least the instructions were easy and it came with some fun fabric ornaments as well.

Puppets

I wanted to make puppets for my kids that actually looked like members of our family. Here's what I came up with.
 I printed pictures of each of us, cut them out, covered them in contact paper (packing tape would work too) and glued them to popsicle sticks. I've tried hot glue gun and elmer's glue but neither of them seem to last through my kids playing with them. I'm thinking of gluing and taping it on the stick to see if that works.
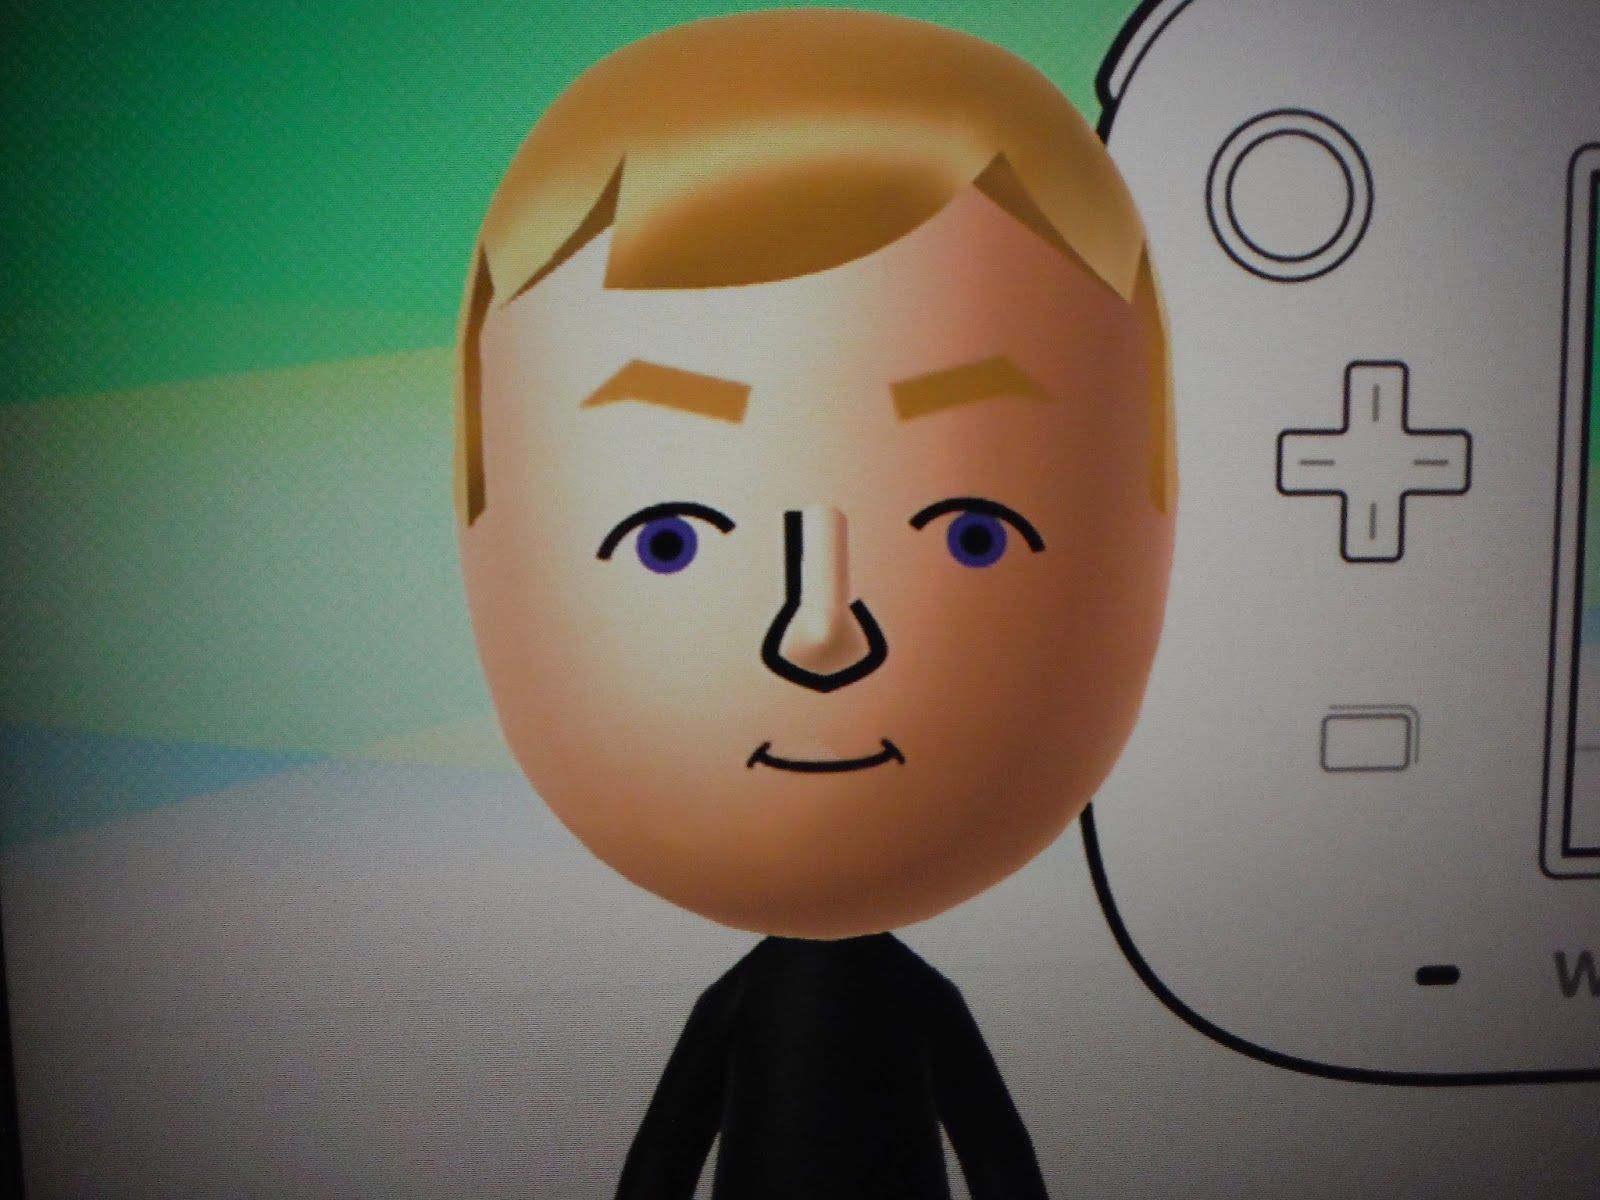
I used our wii profiles (just took a picture of the TV screen) to get a cartoon version of our family. It's way easier to convert that too a puppet than a real picture. First you sew the body, then you cut out the head shapes and hair out of felt. I sewed a few of the facial expressions but it was a bit challenging to do small enough stitches. So I used fabric markers to draw the more complicated stuff. I hot glue gunned the felt heads and hair on the bodies and that was it. For the baby girl I glued on a ribbon and bow. 
All in all I think they turned out pretty good. My kids love them and puppet shows got a lot more interesting.

Saturday, November 15, 2014

Pinch my Cheeks ornaments

My husbands family have these cool animals that you pinch their cheeks and a Hershey kiss pops out. His mom showed me how to make them, and since then I've started making more customized ones. They are fairly simple, but do take some time.

Star Trek symbol
 Mario and Avengers
Yoshi
 Toad


Supplies needed: 
-Plastic Canvas
-Yarn (color of choice)
-Large, blunt needle 
-Yarn threader (the cheap metal ones work ok, but I suggest getting one with a plastic handle and thicker metal, or they seem to just break).

Cut out 3 matching squares out of the plastic canvas (they are made with tiny squares, so I usually do 10 squares x 10 squares).

Cut out a workable length of yarn. Thread needle with desired color, only single strand with a small strand hanging out the end to keep from coming out of needle. Remember these will be diamond shape. 

Start in a corner and pull thread through until about 1/2 inch is left. then thread through the next square across at an angle. Continue to thread this way, while wrapping the 1/2 inch inside the stitches on the back. Do the outside edges on 2 sides of 2 of the squares, leave the other square with no edges stitched. Change color as needed if doing a certain design. When you start running out of yarn, push the need through several stitches on the backside and clip off the yarn. Re-thread needle, and push the new strand through several stitches on back and pick up where you left off.

The two pieces with edges done are going to be the top and bottom. The third is for the back. Put the top and back piece together open edges touching. Sew over hand stitch all the way around the two edges. Put the bottom piece together with the back and do the same. This gets a little tricky because you have to bow the canvas to make it work. Then sew a loop on the top and you have a pinch my cheek. Pinch the sides to open the mouth and put a Hershey Kiss inside.

(More detailed photos to come later)

Thankful Turkey


Draw a turkey body on poster board.
Cut out feather shapes out of lots of colors.
Every day have each person write what they are grateful for on the feather.
Glue on turkey.

By thanksgiving you'll have a very full Turkey

Thankful Jar

I was too lazy to draw a turkey and cut out individual feathers this year. So I taped a pic of a turkey on a jar, and every time they are thankful for something they put a pom pom in the jar until it's full. Works well as a reminder to be thankful and really easy to do.